Friendsgiving is Thanksgiving with the pressure removed: no assigned seats, no relatives auditing the gravy, and a table full of dishes that do not match. It is also the easiest holiday to host, as long as you split the work before anyone arrives. Here is the whole plan, from the invite to the leftovers, with a countdown you can screenshot.
Thanksgiving falls on November 26 this year, which makes the weekends of November 7 and 14 the sweet spot for Friendsgiving. Calendars are still open, nobody has left town yet, and you get to eat turkey twice without anyone complaining. We have hosted enough long tables and cleared enough leftovers to know what works, so here is what we would tell a friend.
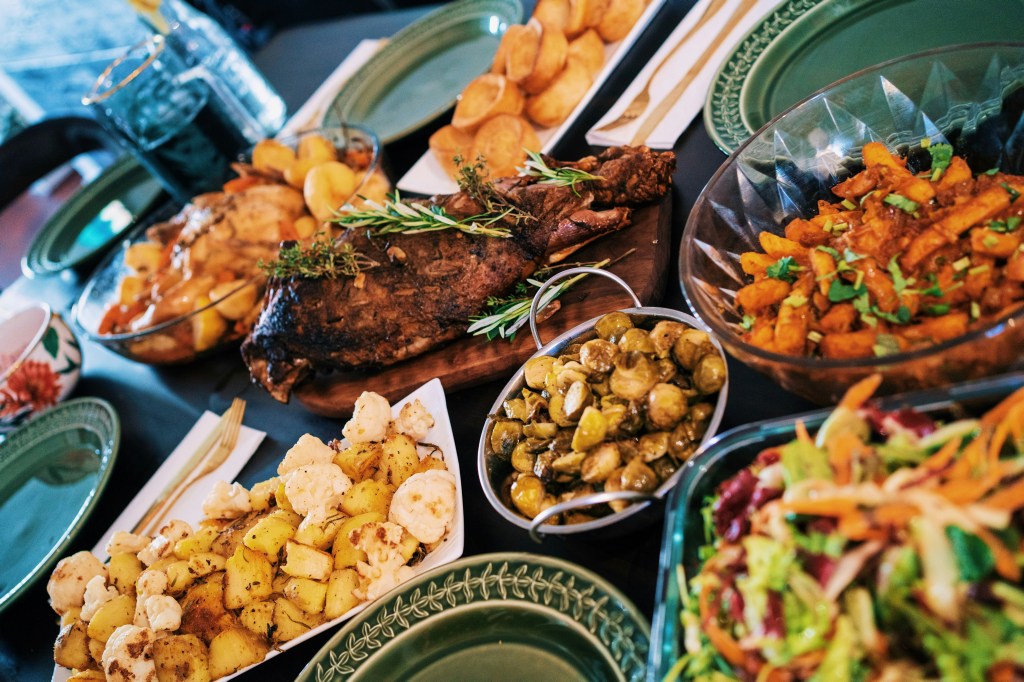
Everything in this guide is built around one idea: you do not need a matching set, a big kitchen or a perfect menu. You need a short plan, a few dishes with character, and friends who each bring something to share. We have organized it as ten steps, in the order you will actually need them.
First, the Ground Rules
Before the steps, a few rules that apply to every Friendsgiving, whether you are hosting four people or fourteen.
- Decide your headcount first. Everything else, from the turkey size to the number of chairs, follows from that one number. If you are unsure, plan for two more than you invite.
- You are the host, not the caterer. The host provides the table, the main dish and the drinks. Everyone else brings the rest. Say it plainly in the invite and nobody will be confused.
- Pick one thing to do well. A great gravy, a gorgeous table, a perfect playlist. Everything else can be good enough.
- Use what you have. Borrow folding chairs, mix your plates, cover the table with an old tablecloth. The goal is a warm room, not a magazine spread.
- Write it all down. A shared note or a group text saves you from answering the same question eleven times.
1. Pick the Date and Send the Invite
Send the invite two to three weeks ahead. In November, everybody is already juggling work parties, family travel and school events, so the earlier you ask, the more people you get.
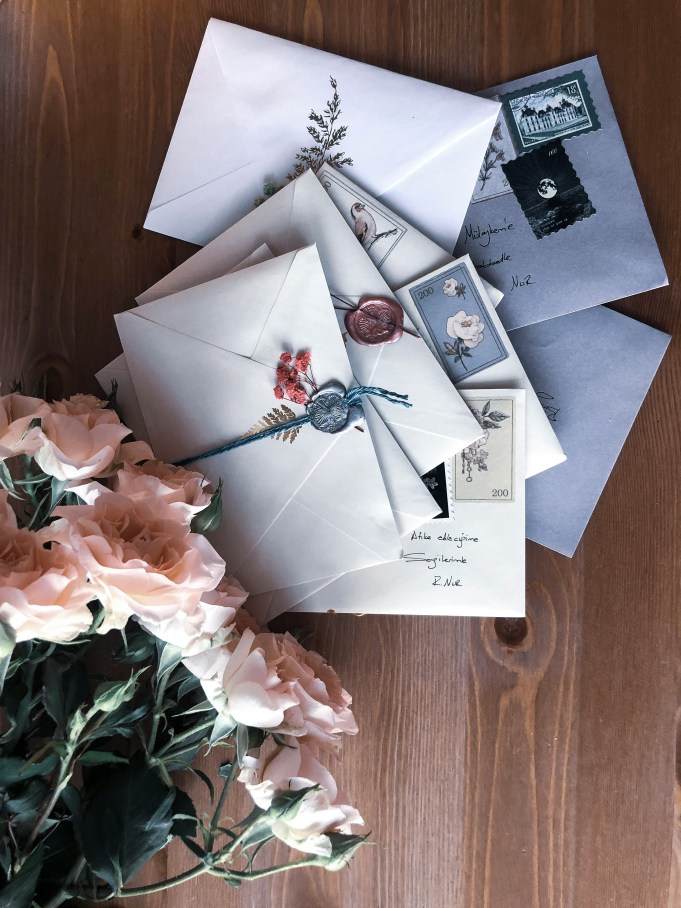
What to put in the invite
- The date, the start time and the end time. A 4:00 start gives guests room to run late and still catch the food. An end time is kind to the people with babysitters.
- The address and the parking situation. If your street fills up, say so.
- What you are providing. “I’ve got the turkey, the drinks and the table” tells guests what is left to bring.
- Dietary notes. Ask about allergies and diets now so nothing surprises anyone at the table.
- An RSVP date. Ask for answers a week before so you can plan the shopping.
Insider tip: text the invite rather than posting it, then keep that thread open as your Friendsgiving group chat. It becomes the sign-up sheet, the reminder and the place where everyone posts photos afterward.
2. Run It Like a Potluck With a Plan
The host makes the main and everyone else covers the rest. The one rule that saves the night: assign categories, not free choice, or you will end up with seven pies and no vegetables.
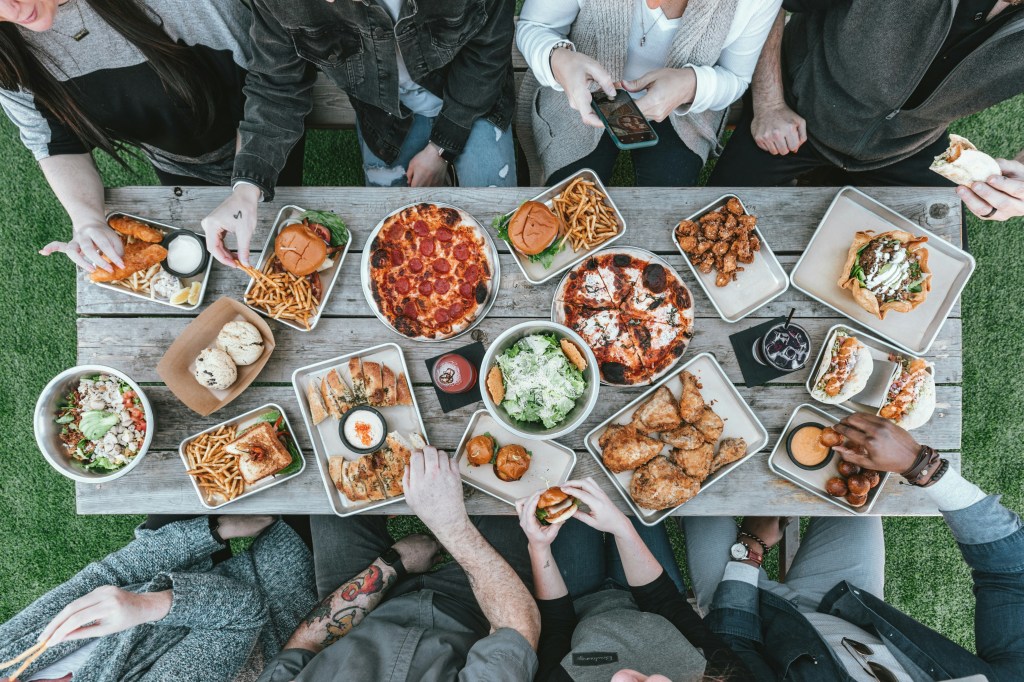
Who brings what
- You: turkey, ham or a roast, plus gravy and rolls.
- Two or three friends: sides. Mashed potatoes, stuffing, green beans, something with cranberries.
- One or two friends: dessert. One pie and one thing that is not a pie is plenty.
- Everyone else: a bottle, a mixer, ice or a loaf of good bread.
- Each guest: their own container for leftovers, labeled with their name.
Ask guests to bring their dish ready to serve or ready to reheat. Tell them that the oven is busy and you only have so many burners. A slow cooker that someone brings plugged in and ready is a gift.
Insider tip: make a shared note with every dish, who is bringing it, and whether it needs the oven. It takes five minutes and prevents most Friendsgiving disasters.
Guests who arrive with a dish in a foil pan will be delighted by a better place to serve it. Check this one out: a set of two Vietri lidded bowls on Etsy, cream glaze with sculpted leaf handles. The listing says the bowls are oven and microwave safe per the care label, and the lids are for serving only, not for the oven.
3. Plan the Menu Around Your Oven
The oven is the real guest list. Count what needs it, when it needs it and for how long, then work out the rest from there.
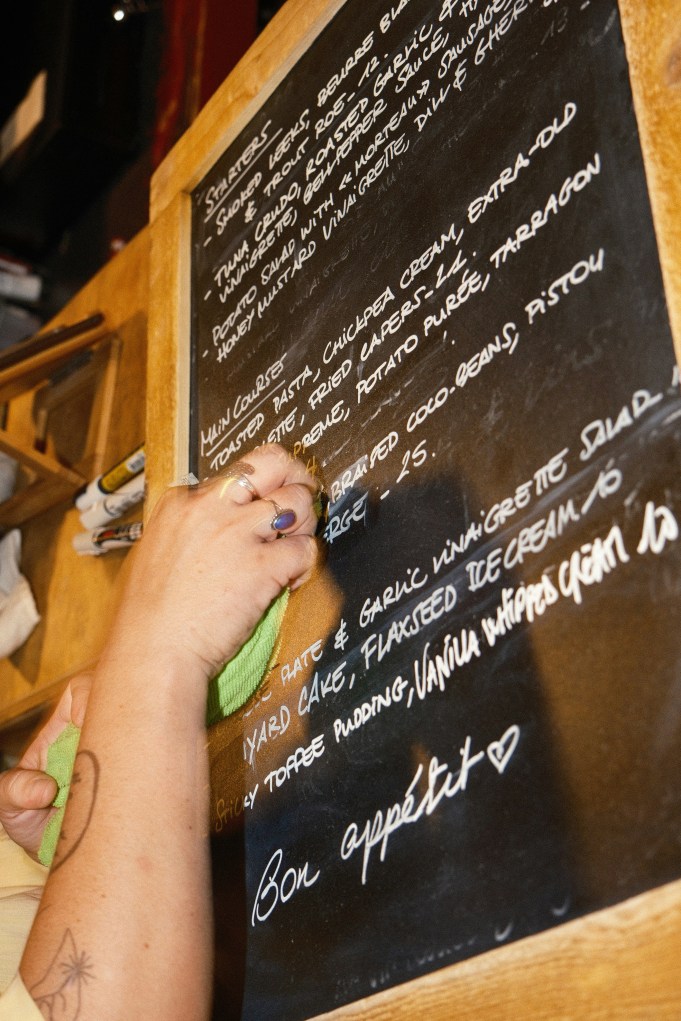
How to build the menu
- Start with the oven. The turkey or the roast takes the longest. Everything that needs the oven after it should be easy to reheat.
- Make two sides ahead. Cranberry sauce and a baked casserole both taste better the day after.
- Use the stovetop and the slow cooker. Mashed potatoes, gravy and soup keep warm without taking up oven space.
- Serve something cold. A big salad or a relish tray gives the table color and takes no oven time at all.
- Keep one backup. A frozen pie or a bag of rolls in the freezer rescues a dish that did not turn out.
Insider tip: write the oven schedule on a sticky note and put it on the oven door. When guests ask “can I put this in?”, you can answer in two seconds.
4. Set the Table With What You Have
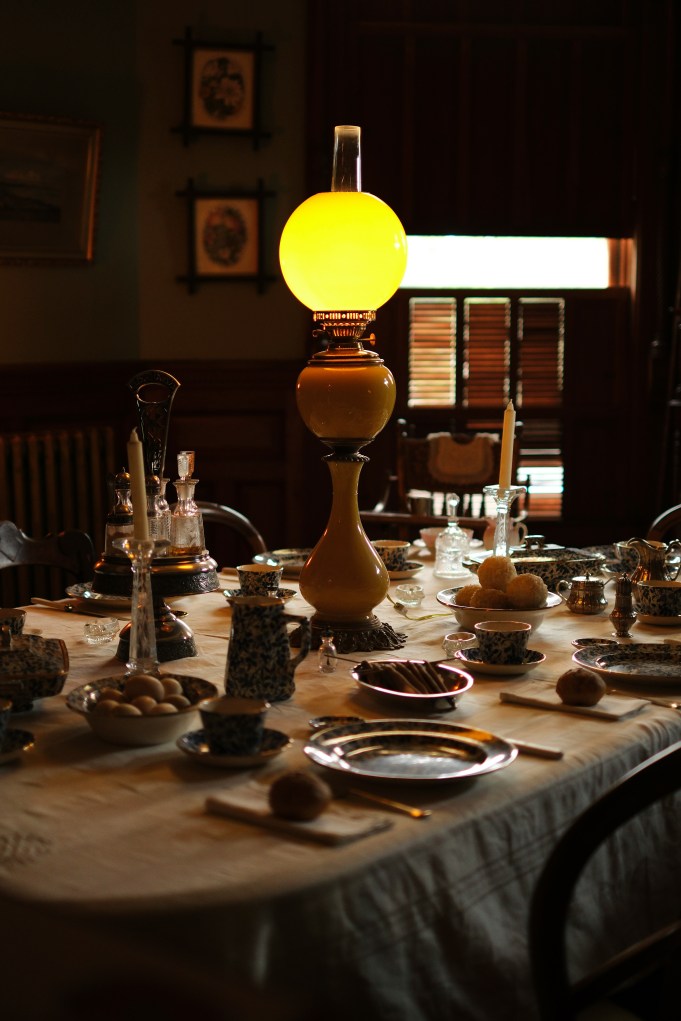
Do not buy a matching set for one dinner. Mismatched plates look intentional when something repeats, like white dishes, gold rims or a shared color. Secondhand dishes are the cheapest way to get that look, and a long table makes it feel like a feast.
How to make it look planned
- Repeat one thing. A shared color or metal ties odd plates together. White plus gold is a classic.
- Mix a pattern with a solid. A busy plate on top of a plain one always works.
- Use a table runner or kraft paper. A roll of paper down the center is cheap, covers scratches and gives guests something to doodle on.
- Keep glasses simple. When the plates have personality, clear glass lets them shine.
- Fold cloth napkins loosely. A mismatched stack from the linen drawer looks charming.
- Add name cards if you have space. It is a small touch that makes people feel expected.
Insider tip: if your plates are all different, use the same napkins and the same glasses. The table then reads as one set that happens to have a lot of character.
5. Centerpieces That Do Not Block the View
Keep anything in the middle of the table low enough that guests can see each other across it. Fruit, a few small vases and a handful of candles beat a tall arrangement every time.
What to put in the middle
- A bowl of fruit. Apples, pears and clementines cost almost nothing and double as dessert.
- A few small bud vases. Three or five stems in different glasses look better than one big bouquet.
- Gourds and mini pumpkins. Scatter them along the table and fill the gaps with candles.
- A cake stand. Use the footed shape to add height without blocking sightlines.
- Leaves and branches. A few from the yard, laid down the middle, cost nothing.
For the fruit bowl, check this one out: a Waterford cut crystal bowl on Etsy, with a floral starburst pattern, made to hold fruit as a centerpiece.
Insider tip: keep anything in the middle under about 12 inches, or leave a clear gap so people can talk over it.
6. Where to Find Serving Dishes Without Buying New
A potluck table needs more serving dishes than you own, and the pieces matter more than the plates. This is where secondhand shopping pays off: sturdy, good-looking and almost always cheaper than something new.
What to hunt
- Lidded casseroles and covered bowls. The lids keep food warm and make a dish look finished. Check for chips on the rim and cracks inside the base.
- Gravy boats with a saucer. The attached saucer catches the drips. Look for ones with an intact handle and spout.
- Serving platters. A big oval platter for the turkey, plus a couple of smaller ones for rolls and sides.
- Wooden spoons, tongs and pie servers. Estate sales usually sell them in jars for a dollar or two.
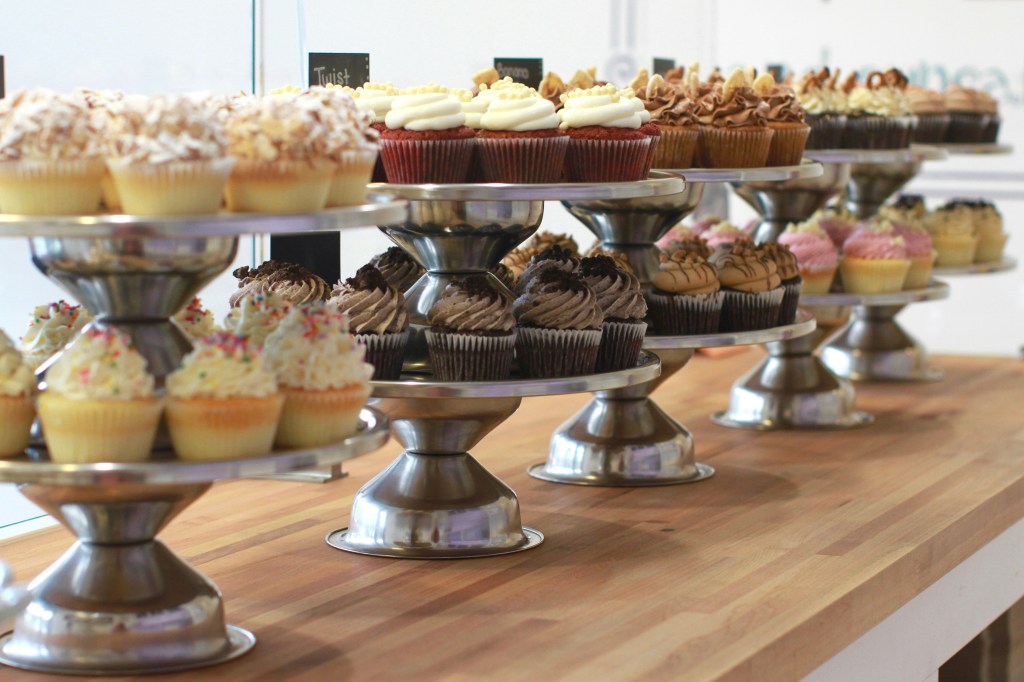
- Cake stands and trifle bowls. They turn plain desserts into centerpieces.
- Pitchers. One for water, one for cider, one for whatever the cocktail is.
Where to shop: church rummage sales, library sales, estate sales and antique malls all have kitchen tables heaped with serving pieces. Go early for selection and late for price.
Insider tip: bring a tape measure and your biggest pot lid. Knowing the size of the dish you need keeps you from buying a platter that does not fit your oven or table.
7. Set Up a Drink Station
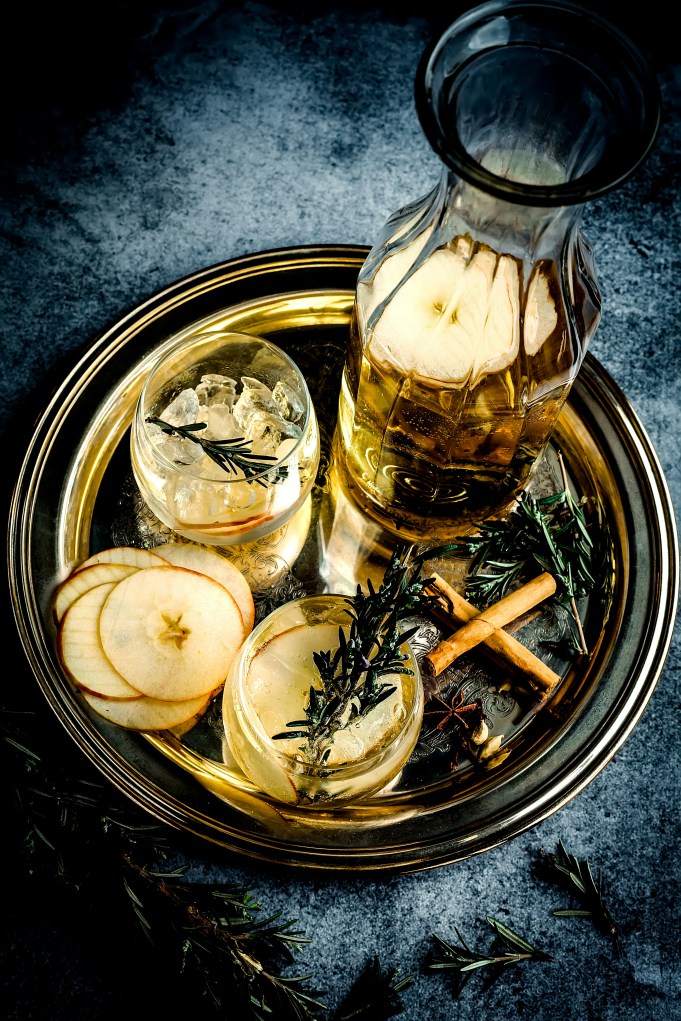
The easiest way to keep the host out of the kitchen is to put the drinks somewhere else. A small table by the door, with ice, glasses and a handwritten menu, lets guests help themselves.
What to put on it
- One cocktail and one non-alcoholic option. Hot cider and a simple spritz cover almost everyone.
- Plenty of ice. A cooler under the table is the easiest answer.
- A tray of glasses. Mismatched is fine. Let guests pick their own and mark them with tape or a bit of ribbon.
- A tea and coffee corner for after dinner. It gives people something to do with their hands while dessert is being cut.
- Labels on everything. A strip of masking tape and a marker is enough.
For the tea corner, check this one out: a Jenaer Glas teapot with a glass infuser on Etsy, a complete three-piece set made of heat-resistant glass and suitable for hot tea service.
8. Light the Room and Keep the Music Low
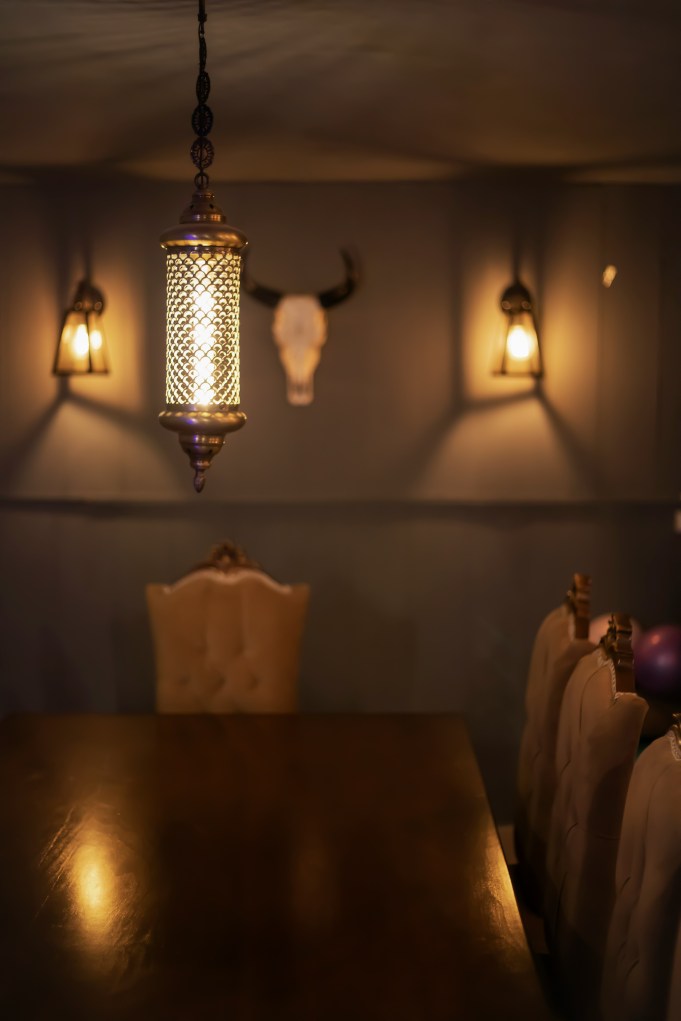
Friendsgiving is a long, slow meal, so the room should feel good at hour three. Turn off the overhead light, put candles on the table and the sideboard, and keep the music at a volume that does not compete with conversation.
How to set the mood
- Use unscented candles at the table. They will not fight with the food.
- Add a lamp or two. Warm lamplight in the living room makes the whole house feel cozy.
- Put a playlist together ahead of time. Something with no lyrics for dinner, something livelier for later.
- Open a window briefly before guests arrive. A full kitchen gets warm, and fresh air helps.
- Turn on the fireplace or put out a few blankets if you have them. People linger longer in a cozy room.
For a lamp with real character, check this one out: an antique Wild & Wessel porcelain oil lamp on Etsy, hand painted, German made and electrified.
Insider tip: light the candles about twenty minutes before the guests arrive. They burn in, the room smells good and the whole house looks welcoming at the door.
9. Make Room for Everyone
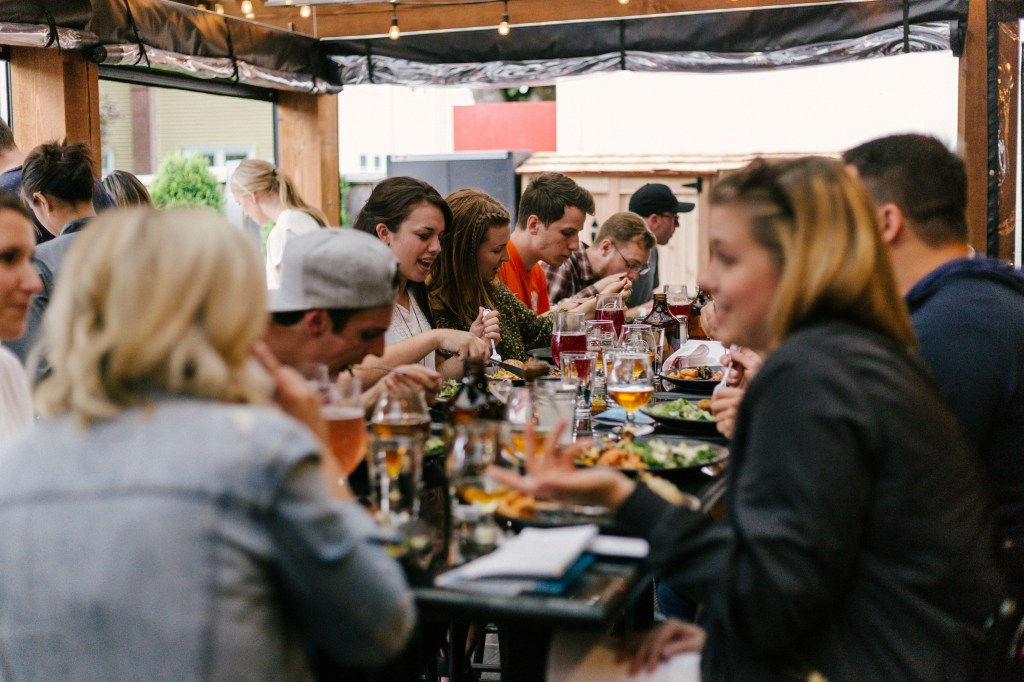
A good Friendsgiving always has more people than the dining room was made for. Plan the flow so nobody ends up balancing a plate on their knees.
How to handle the space
- Count seats before the day. Chairs, benches, stools and a couple of folding chairs from a friend.
- Add a second table. A card table with a tablecloth works for kids or overflow.
- Set up a coat spot. A bed, a rack or a chair near the door keeps the entry clear.
- Keep a clear path to the kitchen. Move any furniture that gets in the way.
- Plan something for the kids. A table with paper, crayons and a simple game keeps the little ones busy.
- Think about the pets. A quiet room with water for any dog who is nervous around a crowd.
Insider tip: take a quick walk around your home an hour before guests arrive. Look for tripping hazards, put away fragile things and clear surfaces so people have somewhere to set a glass.
10. Plan for Leftovers and Cleanup
Half the joy of Friendsgiving is the next-day sandwich. A few minutes of planning means everyone goes home happy and you do not wake up to a disaster zone.
The simple plan
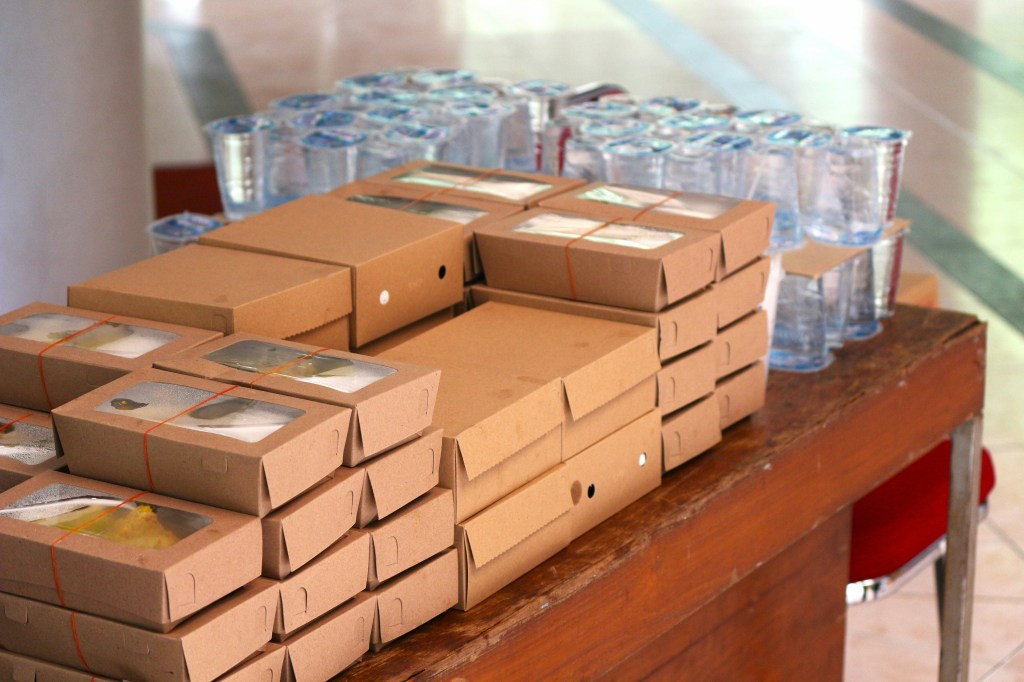
- Collect containers ahead of time. Set a pile of foil, takeout boxes and zip bags by the door.
- Ask guests to bring their own containers and label them with masking tape and a name.
- Pack leftovers while people are still there. Hand over the box before they reach for their coats.
- Save the bones and drippings. They make a great stock the next day.
- Start the dishwasher before dessert. You will start the cleanup from a better place.
- Say yes when someone offers to help. That is half the point of friends.
Insider tip: put a trash bag, a recycling bin and a tub for dirty dishes where guests can see them. People will clear their own plates if you show them where to go.
The Friendsgiving Countdown
Print this, screenshot it or stick it on the fridge. It works for any size gathering.
- Three weeks out: pick the date, count the guests and send the invite.
- Two weeks out: assign dishes, collect RSVPs and ask about diets and allergies.
- One week out: order the turkey, pick up folding chairs, borrow serving dishes and write the oven schedule.
- Three days out: shop for groceries, make the cranberry sauce and set out any dishes you need to wash.
- The day before: set the table, chill drinks, set up the drink station and clean the bathroom.
- Morning of: get the turkey in on schedule, put out napkins and light the candles about twenty minutes before the doors open.
- Doors open: take dishes, point guests toward the drinks and relax. You are the host, not the waiter.
- After dinner: serve dessert, set out tea and coffee, and pack the leftovers as people leave.
The Bottom Line
A good Friendsgiving is a short plan, a table with some character and a group of friends who each bring something to share. Everything else is optional. When you are ready to fill the table with serving dishes, glassware and a few pieces with a past, browse the Retail Dropout eBay store or find all of our shops here and see what is waiting.


Leave a Reply